自建DDNS解决动态IP服务器访问问题
-
把域名接入cloudflare
-
获取Global API Key
-
设置用于 DDNS 解析的二级域名,流量不经过CDN(云朵变灰)
-
下载 DDNS 脚本
-
修改 DDNS 脚本并补充相关信息
-
设置定时任务
把域名接入cloudflare
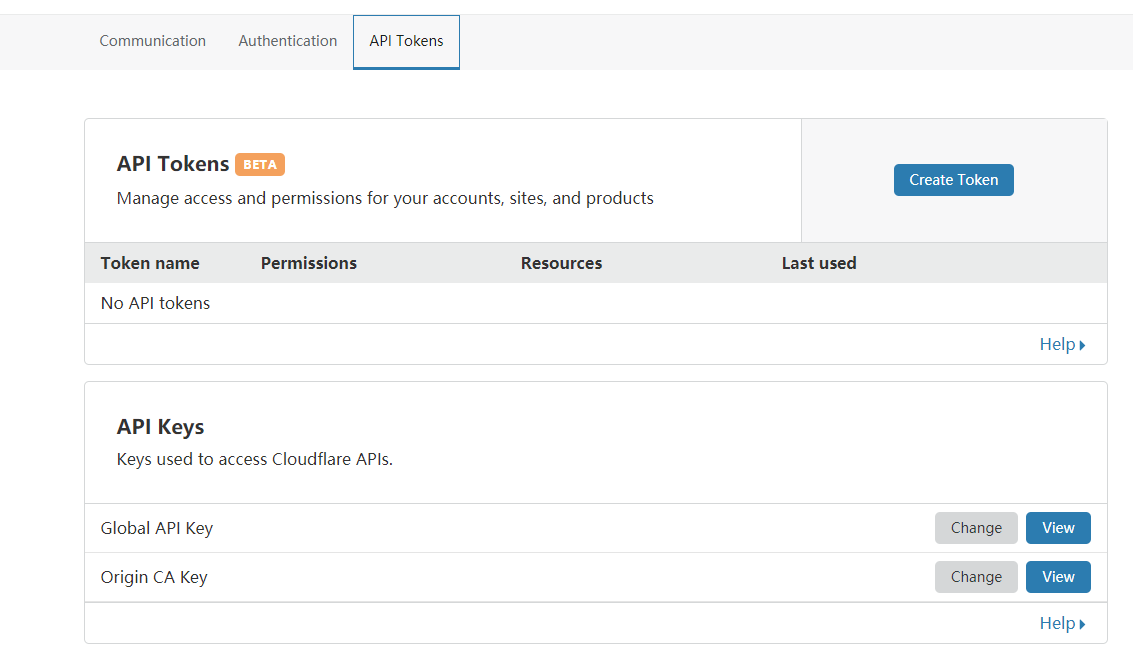
获取Global API Key
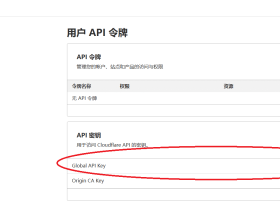
访问 https://dash.cloudflare.com/profile在页面下方找到 Global API Key,点击右侧的 View 查看 Key,并保存下来 ,在页面下方找到 Global API Key,点击右侧的 View 查看 Key,并保存下来
设置用于 DDNS 解析的二级域名,流量不经过CDN(云朵变灰)
添加一条A记录,例如:hkt.test.com,Proxy status设置成DNS only

下载 DNNS 脚本
curl https://raw.githubusercontent.com/aipeach/cloudflare-api-v4-ddns/master/cf-v4-ddns.sh > /root/cf-v4-ddns.sh && chmod +x /root/cf-v4-ddns.sh
修改 DDNS 脚本并补充相关信息
vim cf-v4-ddns.sh
# incorrect api-key results in E_UNAUTH error
# 填写 Global API Key
CFKEY=

# Username, eg: [email protected]
# 填写 CloudFlare 登陆邮箱
CFUSER=

# Zone name, eg: example.com
# 填写需要用来 DDNS 的一级域名
CFZONE_NAME=

# Hostname to update, eg: homeserver.example.com
# 填写 DDNS 的二级域名(只需填写前缀)
CFRECORD_NAME=
设置定时任务
首次运行脚本,输出内容会显示当前IP,进入cloudflare查看 确保IP已变更为当前IP
./cf-v4-ddns.sh
设置定时任务 i键 进行编辑 ctrl+s或者ctrl+x,按y 再按回车键
crontab -e
*/2 * * * * /root/cf-v4-ddns.sh -f true >/dev/null 2>&1
继续阅读


